
Driving a boat is truly one of the most exhilarating skills you can learn. But, on the other hand, owning a boat can be as frustrating as it is fantastic. Perhaps your sentiments are now skewed in the direction of frustration as you turn the key to start the motor to no avail. Your friends say it could be the kill switch loop, but you’re unsure how to check.
Let’s take a look at how kill switches work, why they are essential, and the following ways of bypassing them:
- Using a makeshift connector
- Removing the kill switch from the circuit
- Disconnecting the kill switch from the engine
- Using a remote starter to bypass the kill switch.
Before going any further, I need to emphasize that there are really only two reasons you would need to bypass a kill switch. The first is to fault-find and determine if your kill switch needs replacement and the second is to get you home if your kill switch breaks. You should never go out to sea without a working kill switch.
How A Killswitch Works
When your outboard motor is running, there is a magnetic probe that is “triggered” by the rotation of the flywheel. This trigger sends a signal telling your system that the spark plugs are ready to receive a charge, and then they use that charge to ignite the fuel on the next cycle.
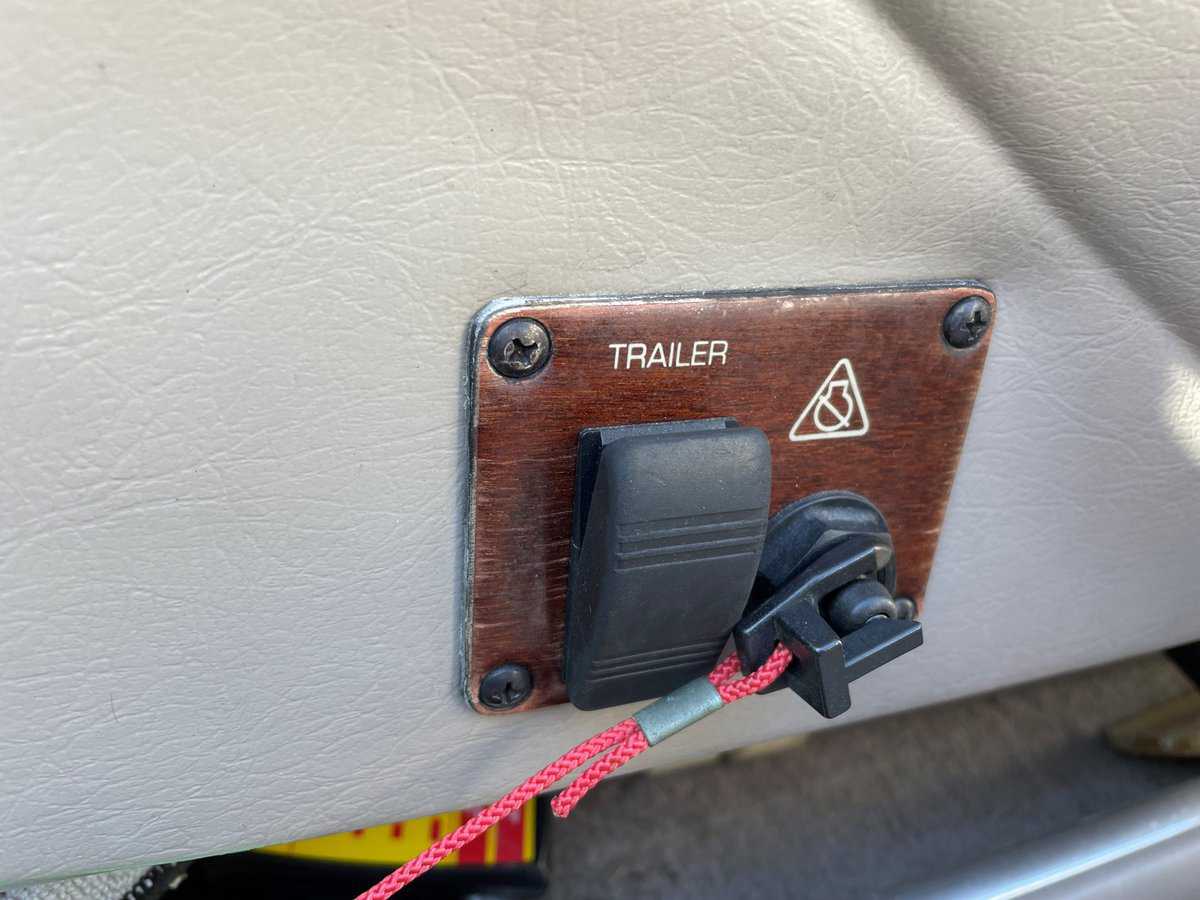
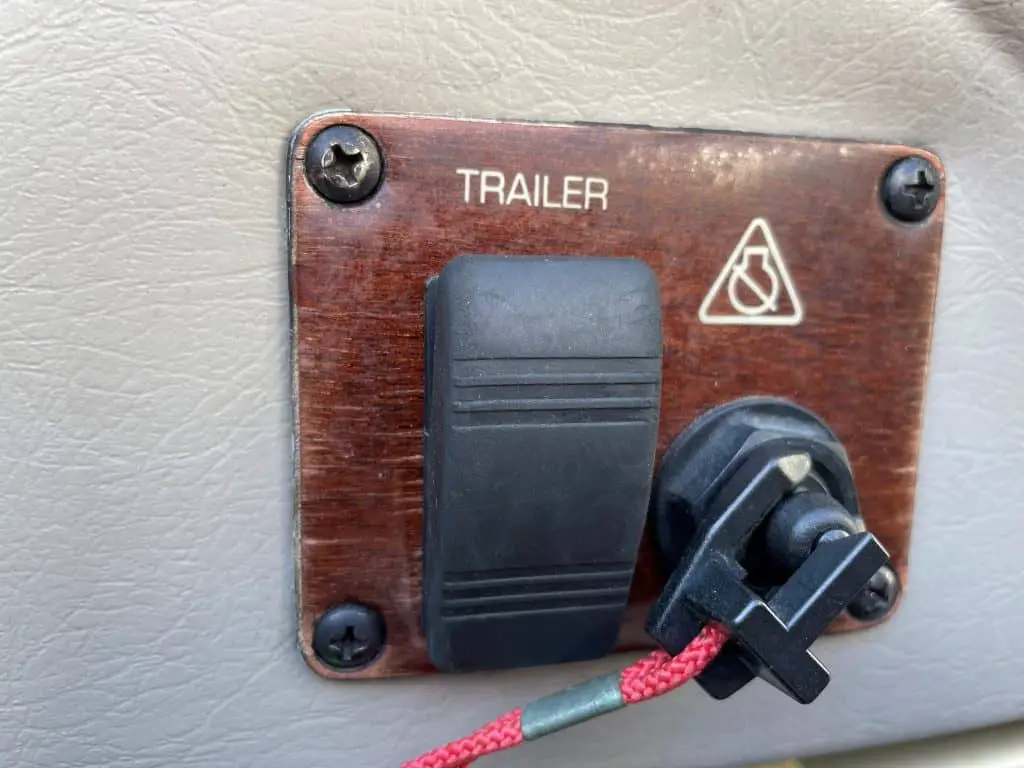
The killswitch breaks this loop by grounding the electrical current before passing it to the sparkplugs. Kill switches are basically spring-loaded circuit breakers. If the kill switch lanyard is not attached, the circuit is closed, and the current is grounded.
However, with the lanyard/connector attached, the spring is contracted, and the circuit is open, allowing current to flow directly to the sparkplugs as needed to keep them firing.
Why Are Killswitches Important?
In the case of the skipper falling overboard, a working kill switch will kill the engine, and, as an obvious result, the vessel will stop (apart from drift and momentum). This not only saves you from being fatally wounded by your boat but also gives you the much-needed opportunity to get back on board.
It is also worth stating that kill switches aren’t just a good idea: they are also a legal requirement in several countries. The USA, for example, requires that Killswitches be fitted to all vessels less than 26 feet long. So, make sure to validate your local regulations to be compliant and avoid those nasty spot fines.
Methods For Bypassing A Kill Switch
There are three methods of bypassing the kill switch on a boat engine.
Method 1: Fashion A New Lanyard & Connector
One way to bypass your kill switch is to makeshift a new connector. For example, if you have lost your lanyard and connectors and need to run the motor, you would use this method.
Step 1: Make Sure Your Kill Switch Works
The first thing you should do is make sure that your kill switch is in working condition. First, pull out the kill switch pin with plyers, hold it in position, and see if the engine starts.
If you have the kill switch that uses a recessed pin, use an object, like a screwdriver, to push the pin down and start the engine.
Step 2: Fashion A Makeshift Connector
Now that you are sure the switch is working fine, you can fashion a connector. Try pulling the pin out with your plyers and using a zip tie to hold it in place.
For pins that need to be pushed in, use a small object to recess the pin and then use something like duct tape to secure the object and kill the switch pin in place.
Step 3: Replace Those Lost Connectors
You will definitely need to replace those connectors with new ones as soon as you get home. Better yet, it is always a good idea to always keep a spare set on board your vessel.
Method 2: Bypass The Kill Switch At The Switch
If your connectors are working fine, but you still can’t get your motors started with the connectors engaged, you may need to bypass the kill switch entirely.
The steps below are generalized, and I suggest that you carefully check your vessel’s wiring diagram before doing anything. If you are uncertain of what you are doing, it’s best to get a professional’s help.
Step 1: Locate The Kill Switch
Now I’m not trying to sound silly here, you obviously know where your kill switch is, but you will have to find it from the back. So first, check which hatch will give you the best access to your console area, and then locate your kill switch.
This may take some squirming around in tight spaces, so beware of the claustrophobia if you’re like me.
Step 2: Remove The Kill Switch
Although this step is optional, it could make your life a whole lot easier if you actually just remove the kill switch from the console. That’s unless you’re happy with borrowing in and out of that hatch space as you try and start your engines, hoping you have removed the correct wire.
Step 3: Check The Kill Switch Wiring
There may be some variations between the different types of kill switches, but generally speaking, there should be a wire coming into the kill switch (often this wire is white) and a wire that goes to the earth (often this wire is black).
Sometimes you may find several of these wires for different motors. In other words, on certain kill switches, each engine is wired individually.
Step 4: Disconnect The Kill Switch
Once you have the correct wire, disconnect the white (or equivalent) wire.
Step 5: Start The Motor Or Change The Wires
With the wire disconnected, try to start the motor. If you removed the correct wire and the problem with the kill switch, your engine should start.
If it doesn’t, try replacing the wire(s) and removing the other(s). If the motor still doesn’t start, then the problem is elsewhere.
Method 3: Bypass The Kill Switch At The Motor
If you are not keen on digging around in your console electronics or removing the kill switch, you always have the option of disconnecting the switch at the motor. However, I should mention that this is probably riskier and that cutting the wrong wire at your engine will obviously have dire consequences.
Step 1: Remove Your Engine’s Cowling
Outboard engines have a cowling that protects the internal components. To get to the wiring on the motor, you will have to remove this cowling held on by latches. Simply open the latches and lift off the cowling.
Step 2: Find The Kill Switch Circuit Wire
Because engine manufacturers do things differently, you will need to consult your motor’s manual or check out forums for your specific motor to double-check which wire belongs to the kill switch circuit.
Step 3: Disconnect The Kill Switch Circuit
Once you are confident that you have the correct wire, you can go ahead and disconnect or cut the wire. Then, test to see if your engine starts with it disconnected.
Method 4: Use A Remote Starter
The last method uses slightly specialized equipment called a remote starter. Using this method will bypass all the console electronics from your engines, such as the starter and the kill switch, so it has the downside of not isolating a problem specific to one piece of electronics.
Step 1: Remove The Engine Cowling
Here again, you will need to remove the engine cowling to access the engine’s electronics.
Step 2: Locate The Engine Harness
The engine harness is a grouping of wires that connects the console to the motor. It should look sort of like a smaller version of a trailer’s electric socket. Once you have found it, disconnect it.
Step 3: Connect The Remote Starter
Connect the remote starter to the engine harness. It should have the same plug. Once connected, use the remote starter to fire the engine. If the engine runs, you have isolated the problem to one of the electronics connected to the engine harness.
Here is a video on fault-finding, including using a remote starter:
Summary
Kill switches can be bypassed by removing the wire running into the kill switch or the engine, thereby cutting it from the boat’s circuit. They can also sometimes be bypassed by fashioning a makeshift clip/lanyard, provided that the switch functions normally.
Kill switches are crucial for your safety and should only ever be bypassed as part of troubleshooting in the boathouse or get you home safely if you lose a lanyard out at sea. Unfortunately, not having a working kill switch has often led to fatal accidents. So, keep your switches working smoothly and happy boating!
Project “Kill Switch” Boating
Checkout our article on: Aluminum Boat vs. Fiberglass (Advantages And Disadvantages)