
Waterproofing plywood for a boat is easy but will take some patience to ensure a smooth waterproof finish. This article provides two plywood waterproofing methods, the steps needed for each, and some helpful information. Let us get ready for the launch.
Method 1. Waterproofing Plywood For A Boat With Epoxy Resin
The first method to waterproof plywood for a boat is by using Epoxy resin. The resin is long-lasting and highly durable and is the preferred waterproofing method by boat builders.
Step 1. Setup And Materials
Setting up a proper work environment will be essential when waterproofing plywood. Some of the materials dry very quickly, and if the correct tool is not within reach, it could result in extra work that will need to be done to correct it. Here is a list of some of the materials you will need:
- Acetone
- Brush
- Clean cloth
- Disposable mixing container for the epoxy
- Epoxy kit (resin and hardener)
- Hairdryer or heat gun
- Paint stick
- Paper towels
- Sanding paper (80,120 & 200 grit)
- Tack cloth
- Tarp
Place the materials within reach and lay the tarp on the floor to prevent any epoxy and sawdust from adhering to the floor. When using epoxy, it is recommended to use latex gloves when mixing and applying it to the wood.
Step 2. Cleaning The Plywood
The plywood should be clear of any oil, mold, or wax. Wipe the wood off with acetone and a cloth or paper towel. The acetone is great for cleaning the contaminant on the wood, and it assists in evaporating any moisture.
Cleaning the wood before the sanding process will prevent any grime from smearing into the wood. Make sure to have sufficient airflow when working with acetone.
Step 3. Let The Plywood Dry
After wiping the plywood down with acetone and ridding it from all contaminants, let it dry. This process can be hurried up by using a hairdryer or heat gun. Be careful not to place the heat source too close to the plywood, as it can darken the wood slightly.
Step 4. Sanding The Plywood
Now that the plywood is clean and dry, it’s time to remove the top layer of wood by sanding it. Start with the 80 grit sandpaper. Sand the wood in a circular motion, as this motion will leave a more even finish on the wood.
It is vital that you sand the edges and corners of the wood, as any un-sanded areas might not absorb the epoxy sufficiently. If there are any deep imperfections, use a quality wood filler to cover them and sand down the excess.
Step 5. Mixing The Epoxy
Mix the two epoxy solutions together (resin & hardener) in a disposable container in a well-ventilated area. Follow the mixing instructions for the epoxy kits as the mixing ratios can vary between manufacturers.
Use a paint stick to scrape and stir the mixture for five minutes so that it is well mixed and starts thickening to a syrupy consistency. If air bubbles form in the mixture, do not worry as they can be removed later.
Step 6. Laying The Epoxy
The epoxy will start thickening up quickly, so time is of the essence. Dispense the epoxy onto the middle of the plywood. Spread the epoxy evenly over the wood surface with a foam brush. It is crucial to cover the whole piece of wood, including the edges. Once the wood is evenly coated with epoxy, wipe off the excess with the foam brush.
Step 7. Removing The Air Bubbles From The Epoxy
If any bubbles have formed on the epoxy, they can be removed with heat. Using a hairdryer or heat gun, move the heat back and forth over the air bubbles until you see them pop. The epoxy will now need to cure and harden for four hours.
Step 8. The Second Coat Of Epoxy
After four hours, the epoxy will not be completely hard and dry, and it will have a tacky texture to it. The sticky texture means that it is ready for the second coating of epoxy. Follow the same process as Steps 5 and 6 to cover the wood. Make sure to cover the wood evenly and do not forget the corners and sides.
Once the plywood is evenly covered, leave the epoxy to cure and harden for 24-36 hours. Ensure that the plywood is not placed in direct sunlight while it is hardening, as the UV rays will cause a chalking effect.
Step 9. Removing The Wax Layer From The Epoxy
When the epoxy has hardened, you will notice a waxy layer covering it. To remove this, use acetone and a cloth and wipe down the plywood. This will also remove any other contaminants that might be on the wood.
Step 10. The Second Sanding
Sanding the epoxy is a necessary step in waterproofing plywood. The sanding will remove any air bubbles that might be left. Start with an 80 grit and work up to a 200 grit sandpaper. After sanding, the plywood should be smooth, and the surface will be ready for painting.
Step 11. Painting The Plywood
The final step in waterproofing plywood is to paint on a few coats of paint. It should take up to four coats of color paint to shield the epoxy from the sun. Use high-quality latex waterproof paint and let the paint dry after every coat. The paint will give a beautiful finish to the wood and add that extra layer of protection from the elements.
Method 2. Waterproofing Plywood For A Boat With Latex Based Paint
Waterproofing plywood with latex-based paint is less reliable than using epoxy; thus, it will be adequate for boats that are not exposed to water for prolonged periods. Latex-based paint will waterproof plywood, but it will need to be painted more regularly.
When choosing a quality latex-based paint, there are three types for you to choose from, gloss, matt, and semi-gloss. The gloss paint is the most durable, but it will display the imperfection in the wood. In contrast, the matt and semi-gloss hide imperfections better but are not as durable.
Always follow the instructions from the paint manufacturer as brands will differ in mixing, painting, and drying time.
Step 1. Setup And Materials
Set up a proper working environment and have the following materials at hand.
- Acetone
- Brush or roller
- Clean cloth
- Latex-Based Paint
- Latex Paint Primer
- Paint sticks
- Paper towels
- Sanding paper (80 grit)
- Tack cloth
- Tarp
Step 2. Preparing The Plywood
Wipe the plywood down with a cloth or paper towel and acetone to remove all dirt and debris. The acetone will aid in cleaning the dirt and removing any surface moisture from the plywood. Let the wood dry for a minute or two.
Step 3. Sand The Plywood
Use 80 grit sandpaper and sand the plywood till the imperfections have been removed and the surface is smooth to the touch. It is recommended to use a dust-mask while sanding plywood as the dust could be harmful.
Step 4. Apply Primer To The Plywood
Latex-based paint will require a primer to be painted on the wood. The primer serves many benefits, such as better adhesive for the paint, more durability, and a smooth finish after painting.
Using a quality latex-based primer, paint a thin layer of primer onto the wood with a paintbrush. Make sure to cover the entire piece of plywood and allow the primer to dry for about 1 hour.
Step 5. Sanding And Applying The Second Coat Of Primer
When the first coat of latex primer is dry, lightly sand the plywood to see if any imperfections are showing through. Rub the plywood down with a tack cloth and paint on the second coat of primer by repeating step 4.
Step 6. Applying The Latex-Based Paint
Use a paint roller or brush and spread a thin layer of paint onto the primed plywood. Avoid too much paint on the brush or roller, as it will cause the paint to drip and pool.
After the first coat, let the paint dry for two to three hours before applying the second coat of paint. It is highly recommended to apply a minimum of two coats but feel free to apply as many coats as needed for the application.
The plywood will be protected when the paint is dry, but the latex-based paint will need to be reapplied in roughly 24 months to ensure its effectiveness.
Marine Grade Plywood
It is not easy to distinguish between regular plywood and marine plywood. Here are a few traits of marine plywood.
- Marine plywood has a smoother finish than regular plywood.
- Marine plywood is heavier
- Fewer visible knots in the wood surface
- It has hardwood veneers
- Less bending capacity
- Marine plywood has up to 10 layers
Marine Plywood Durability
Marine plywood is much more durable than ordinary plywood. Marine plywood can last up to 25 years or longer with regular maintenance. The key to a long life span is waterproofing regularly and keeping it out of the elements as much as possible.
Why Sealing Boat Plywood Is Important
An experienced boater can contest that the marine environment is entirely different from the norm, and the plywood will have to stand up to the following:
- The Sun: The UV Rays from the sun can damage the wood on the boat, and due to the nature of boating, it will spend many hours in the blistering sun.
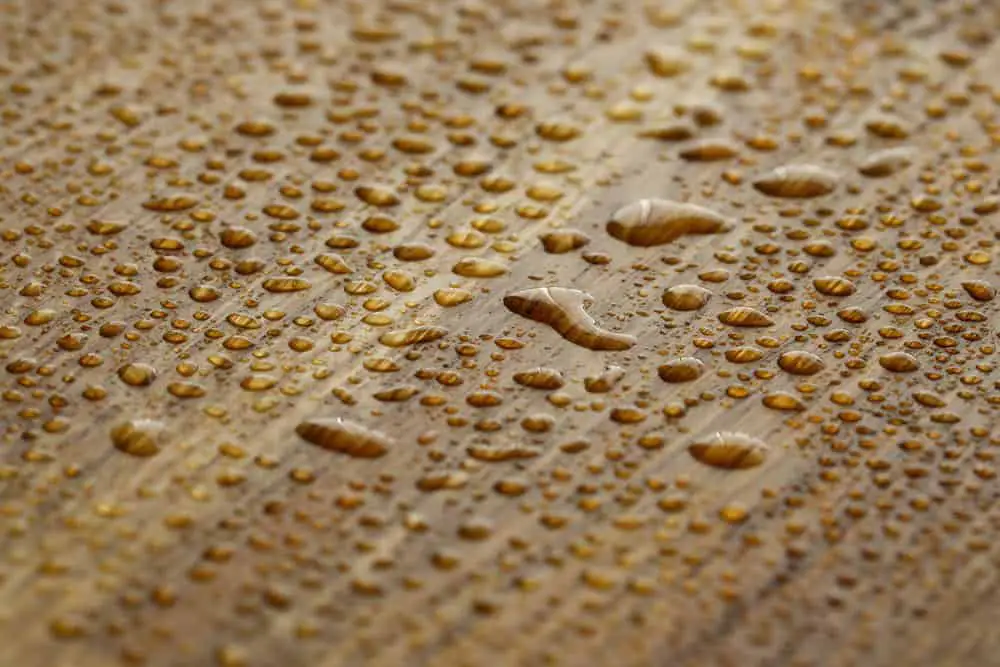
- Water: Water soaks into the wood and causes it to rot, this is a fact, but it can be prolonged and even prevented. Sealing the wood with epoxy can keep the wood dry and structurally strong.
- Humidity: The water in the air can do the same amount of damage to wood. Combining the heat from the sun and the moisture in the air is a perfect recipe to have water end up in all the areas you least expect. This is the reason for waterproofing all the wood to some degree.
It is important that you do not just purchase any sealant, but rather one designed with specific waterproofing properties for the marine environment.
Using Epoxy for Waterproofing And Boat Repairs
Epoxy resin is one of the most adaptable materials that can be used in boat repair, building, and waterproofing. Epoxy is often used to repair Gelcoat cracks, new bulkhead installations, and any other boatyard repair project that might need to be completed.
Uses for Epoxy Resin
Epoxy resin uses fall into a few categories:
- Coating: Apply one or more thin coats of epoxy to seal the surface or prepare the surface for paint or use it to reinforce layers of fiberglass.
- Bonding: Using the epoxy as a glue, generally with some filler to fill gaps between the surfaces or attach items.
- Laminating: Multiple layers of wood are bonded together to create a thicker solid structure.
- Fairing: Thickened resin can be used to fill holes and depressions so that the surface can be sanded and smoothed.
The Pros And Cons Of Latex Base Paint
The following are the pros and cons of latex-based paints for boats.
Pros of Latex-Based Paint
- Inexpensive
- Greater availability and variety
- Non-flammable and non-toxic
- Easy application
- Easy clean-up
Cons Of Latex-Based Paint
- Swells and cracks if painted on wood surfaces
- Takes a long time to cure and can crack on rough surfaces
- Won’t adhere to dirty surfaces
- Not for use on things being touched or moved.
Conclusion
Waterproofing plywood for a boat can be made easy by following the steps provided in this article. Whether you decide to use the first or second method is up to you as they both have their strengths. Always follow the paint or epoxy manufacture instructions as each will differ.
Ensure that the plywood you are using for the boat is marine-grade plywood and not standard plywood, as they each have different properties. So now that the plywood is treated, it’s time to continue with the project and set sail.
Project “Get Waterproofing” Boating
Check out our article on: How To Build A Casting Deck In An Aluminum Boat? (7 Steps)