
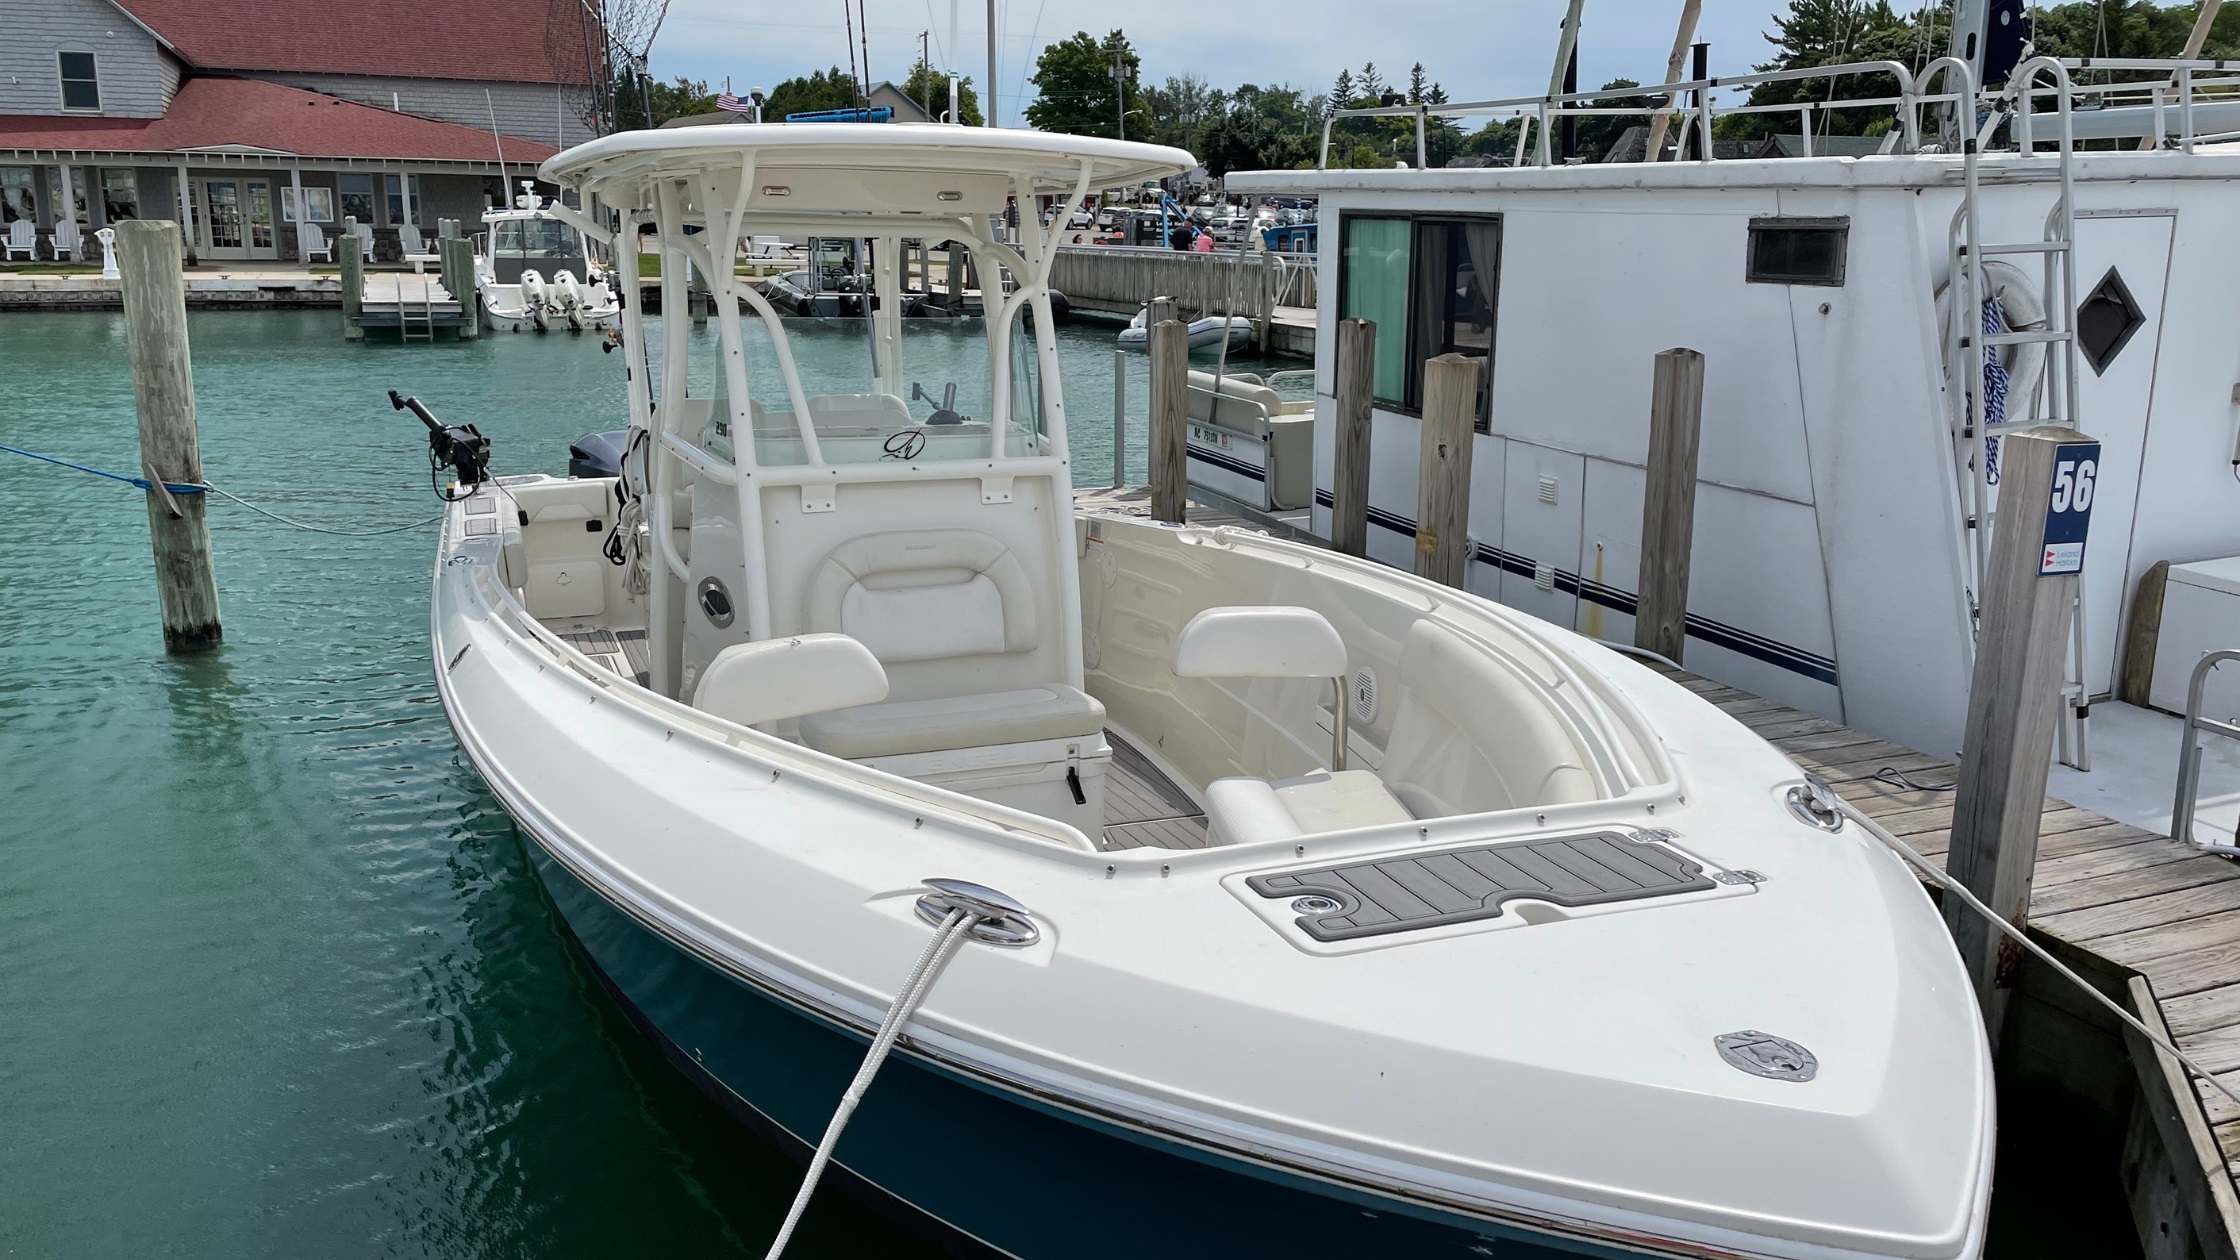
It is important to know how to properly secure your boat to a dock so that it doesn’t drift away during rough tides. It could also become damaged due to rocking in the water and hitting up against the dock or other boats that are tied when not secured correctly, which is something every boater wants to avoid. So, how do you properly tie a boat to a dock?
To tie a boat to a dock you will need to run lines and tie them from the boat cleats to the dock cleats to keep the boat from drifting away. The lines should be tied in a cleat hitch knot to ensure the boat is properly secured to the dock and can be released easily when it’s time.
In this article, I’ll discuss everything you need to know about tying a boat to a dock and explain what these different things are. I will also provide a step-by-step guide to walk you through the best practices of how to tie your boat to a dock.
Best Practices
Using best practices is important when it comes to tying your boat to a dock. This ensures your boat will be properly secured and avoid damage from any mishaps. Here are some tips for best practices when tying your boat to a dock:
- Have your fenders tied and your boat lines prepared ahead of time. You don’t want to be scrambling to get them ready while you are trying to dock your boat.
- If there is someone on the dock that can lend you a hand, throw the spring line to them. They can help you position your boat up to the dock evenly and hold your boat in place so you can tie your vessel off properly.
- Begin with tying the bowline first (front of the boat). Tie it from the boat to a dock cleat that is slightly in front of it.
- Prevent your boat from moving forward or backward by tying the spring line to the dock cleat that is closest to the stern. Tying it at an angle like this holds your boat firmly in place.
- Lastly, tie the stern line (back of the boat) to the dock cleat that is just behind the stern. Ensure that this is not tied at a 90 degree angle.
What You Need To Know Before Tying Your Boat to a Dock
To tie your boat to a dock you will need to know a few things first. It’s always better to be prepared and have a plan of action so that everything goes off without a hitch.
What Is a Boat Cleat?
A boat cleat is an essential accessory on a boat that is shaped like a horn and used for securing lines to the boat when docking. These cleats are sturdy and are usually found on the bow, stern, and sides of the boat.
The purpose of boat cleats is to tie the rope through them so that you can tie the other end of the rope to a dock cleat. These lines are tied in such a way that they hold the boat in place alongside a dock without fail.
When tying your boat, it is important to utilize the cleats for this purpose and no other parts of your boat, such as railings or handles, as this could cause damage to those parts from the tension of the lines.
How To Tie to Boat Cleat
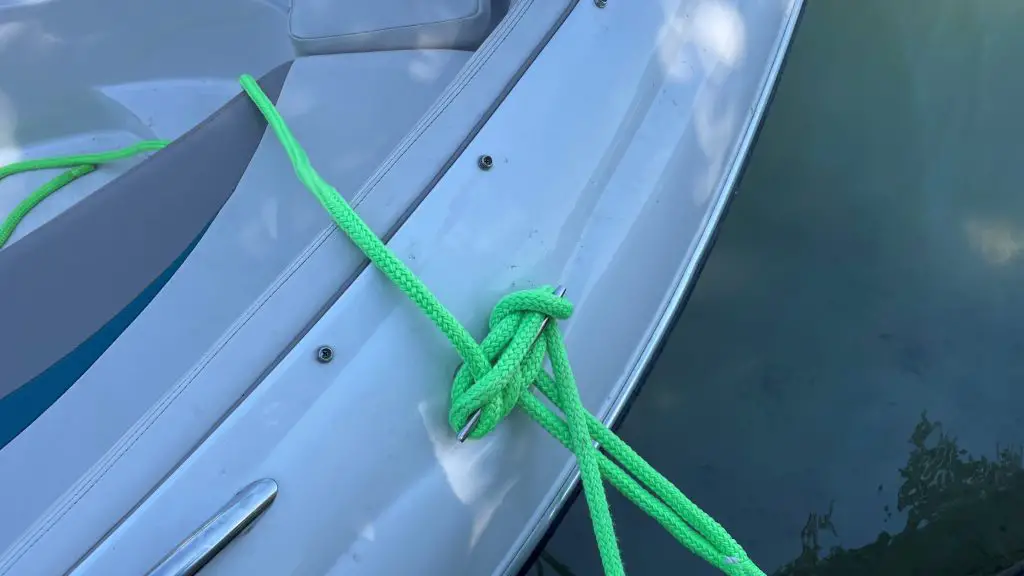
When tying a line around a boat cleat, the best knot to use is a cleat hitch knot. This knot looks like a figure eight and keeps the boat in place, while also making it easy to release your boat when you are ready to.
Although this is a relatively simple knot to tie, many boaters tend to tie it incorrectly. Practicing this knot will help to tie a perfect cleat hitch every time.
To tie a cleat hitch knot around your boat cleat follow these instructions:
- Take your line and create the entering lock by wrapping it under one of the horns of the boat cleat.
- Wrap the line around the backside of the cleat and under the other horn.
- Bring the line up, crossing over the top, and center of the cleat, and wrap it under the opposite horn.
- Pull the line back over the top of the cleat, towards the opposite cleat horn.
- Make a small loop by twisting the line away from the entering line and looping it over the cleat horn that it was pulled toward.
- Pull the line tight. The remaining line should be parallel to the entering line.
What Is a Dock Cleat?
A dock cleat is an accessory attached to the sides of a dock, with the purpose of securing boats to it so that they don’t float away. Many docks have dock cleats but not all.
Similar to a boat cleat, with the only difference being that it is attached to the dock instead of the boat, lines are wrapped around them in the form of a cleat hitch.
These lines begin at the boat cleats and are tossed over to the dock to wrap the line around the dock cleat as well as to keep the boat from drifting away.
How To Tie To Dock Cleat
Tying to a dock cleat is the same as tying to a boat cleat. The only slight difference is that you will need to start your enter lock on the opposite horn than the line coming from the boat cleat.
To tie a cleat hitch knot around a dock cleat, follow these steps:
- Take your line and wrap it under the furthest horn of the dock cleat from where the boat is.
- Bring it around the backside of the cleat and under the other horn.
- Bring the line up, crossing over the top, center of the cleat, and wrapping around the opposite horn.
- Pull the line back, crossing over the top of the cleat towards the opposite cleat horn.
- Make a small loop by twisting the line away from the entering line and looping it over the cleat horn that it was pulled toward.
- Pull the line tight. The remaining line should be parallel to the entering line.
How To Make Sure It’s Secured
Once you have secured your boat to the dock, always make sure it is secured properly. To do this check the following:
- Boat lines on the stern, bow, and spring to make sure they are not tangled and there is not much slack in the lines
- Cleats on the boat to ensure they are properly tied
- Cleats on the dock to make sure they are properly tied
- Three or more fenders are in place between the boat and the dock and adjusted to the correct height
How To Place Fenders
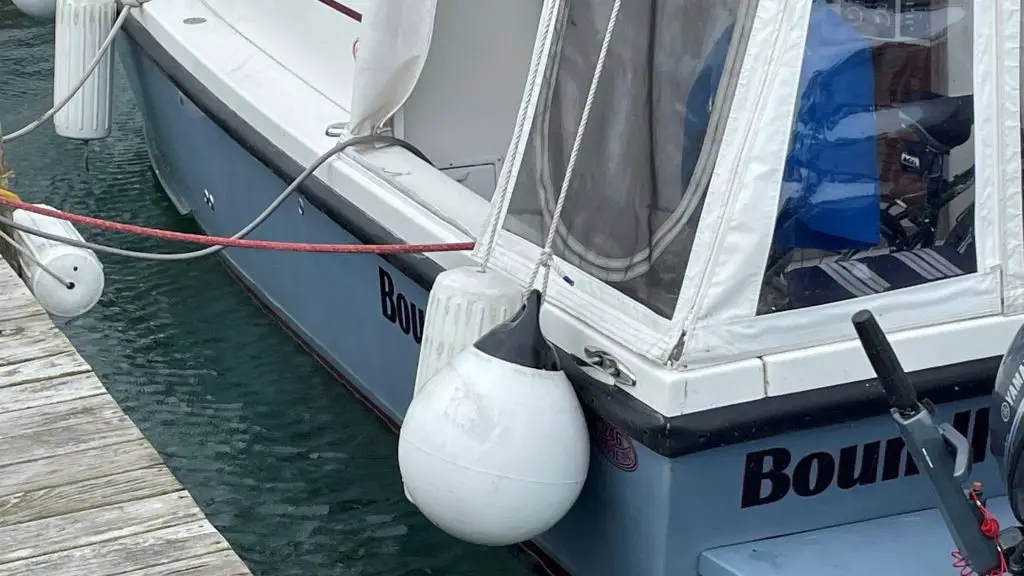
Fenders, or boat bumpers, should be positioned between the boat and the dock to keep the boat from coming into contact with the dock to avoid scratches or damage. Your boat should have at least three fenders if not more to cushion your boat best and each fender should be spaced out 10 ft (305 cm) apart from the next.
Fenders can be either placed horizontally or vertically depending on your needs and your preference. It is wise to have the foresight to tie your fenders ahead of time if you know which side you are going to dock on. This way you will be ready to put them in place right away instead of trying to get things ready at the last minute.
How To Tie a Fender to Your Boat
To tie a fender to your boat, follow these instructions:
- Hang your fender over the top of the boat’s rail so that the fender is dangling outside of the boat and the remaining rope is still inside the boat.
- Take the remaining rope under the rail and wrap it around the section of rope that is attached to the fender on the outside of the boat.
- Pass the rope under the rail and bring it up over the top of the rail.
- Take the loose end of the rope and pass it through the inside of the rope connecting the two loops that are now secured on the rail.
- Adjust the fender to the correct height by loosening the rope secured to the rail by feeding the loose end up the loop a little at a time.
How To Create Your Own Dock Line
Dock lines are relatively simple to make and require only a few supplies. For this tutorial, I am using three-strand nylon. Before you can begin, gather the following supplies:
Supplies list:
- Rope
- Utility knife
- Tape
Here are the steps:
- Wrap your tape around the rope where you want your loop to begin.
- Separate the three strands on one end of the rope and tape around each end to keep them from fraying.
- Take one of the separated strands and feed it through the first strand right after the tape which marks where the loop will begin. Pull it tight.
- Grab the next separated strand and feed it through directly next to where you fed the other strand. Pull it tight.
- Take the final separated strand and feed it through the main rope right next to the previous strand. Pull it tight.
- Work your way down the braid of the rope by repeating steps three through five until you have intertwined the separated strands to the ends.
- Wrap your loop around something stable and give the rope a good pull to stretch it so that the braids fall into place nicely.
How To Tie a Boat to a Dock
Here are the steps on how to tie a boat to a dock:
- Pull your boat up to the dock with the fenders in place.
- Loop the dock line through and around the bow cleat at the front of your boat and attach the other end to the closest dock cleat with a cleat hitch knot.
- Run that line from the dock cleat to the mid cleat of the boat as your spring line and secure it with a cleat hitch knot.
- Use the loop end of the dock line to loop through the stern cleat at the back of your boat and attach it to the dock cleat at the stern of your boat with a cleat hitch knot.
- Run that line from the dock cleat to the mid-boat cleat and secure it to the boat cleat by tying a cleat hitch.
- Make sure your boat is secured to the dock properly.
It’s important to note before you set out on your boating adventure to know where it is legal to tie your boat. While tying it to a dock is legal, not tying it properly is illegal. Check out this article for more great information about where you can legally tie up your boat.
Check out the article we have on: Where Is It Legal To Tie Up Your Boat? (What To Look For)
Conclusion
Docking your boat can be a stressful experience but it doesn’t have to be. Preparing yourself ahead of time will make typing your boat to a dock a breeze. Always remember to tie your fenders on before heading over to where you will dock and that practicing tying a cleat hitch will help build your confidence and make tying your boat to the dock effortless.
Project “Securing The Boat” Boating
Check out our article on: How To Beach A Boat: (Two Must Know Techniques!)